Antmicro's AOSP-based industrial Android BSP
This is the central repository for Antmicro's industrial Android BSP based on AOSP for ARM platforms. It briefly explains how to build and run the BSP on Antmicro hardware.

Languages
Antmicro's AOSP-based industrial Android BSP
Copyright (c) 2019-2021 Antmicro
This is the central repository for Antmicro's industrial Android BSP based on AOSP for ARM platforms. It briefly explains how to build and run the BSP on Antmicro hardware.
Antmicro has been building AOSP-based BSPs for customers and partners globally for a variety of edge computing platforms from vendors like NVIDIA, NXP and Qualcomm, in applications such as smart industrial screens, AR/VR, portable instruments, infotainment, automotive, smart lighting and smart home. We provide services in building, extending and tailoring Android-based systems, including OTA update and continuous deployment systems, with rich connectivity and AI capabilities.
Antmicro’s Android BSP will be regularly expanding to help our customers build new cutting-edge products - and thanks to its open source nature, keep them in charge of a design that is transparent, reproducible and which they can truly own and develop as needed. Reach out to us at contact@antmicro.com to inquire about Android for your platform.
The BSP currently supports the following hardware/Android combination:
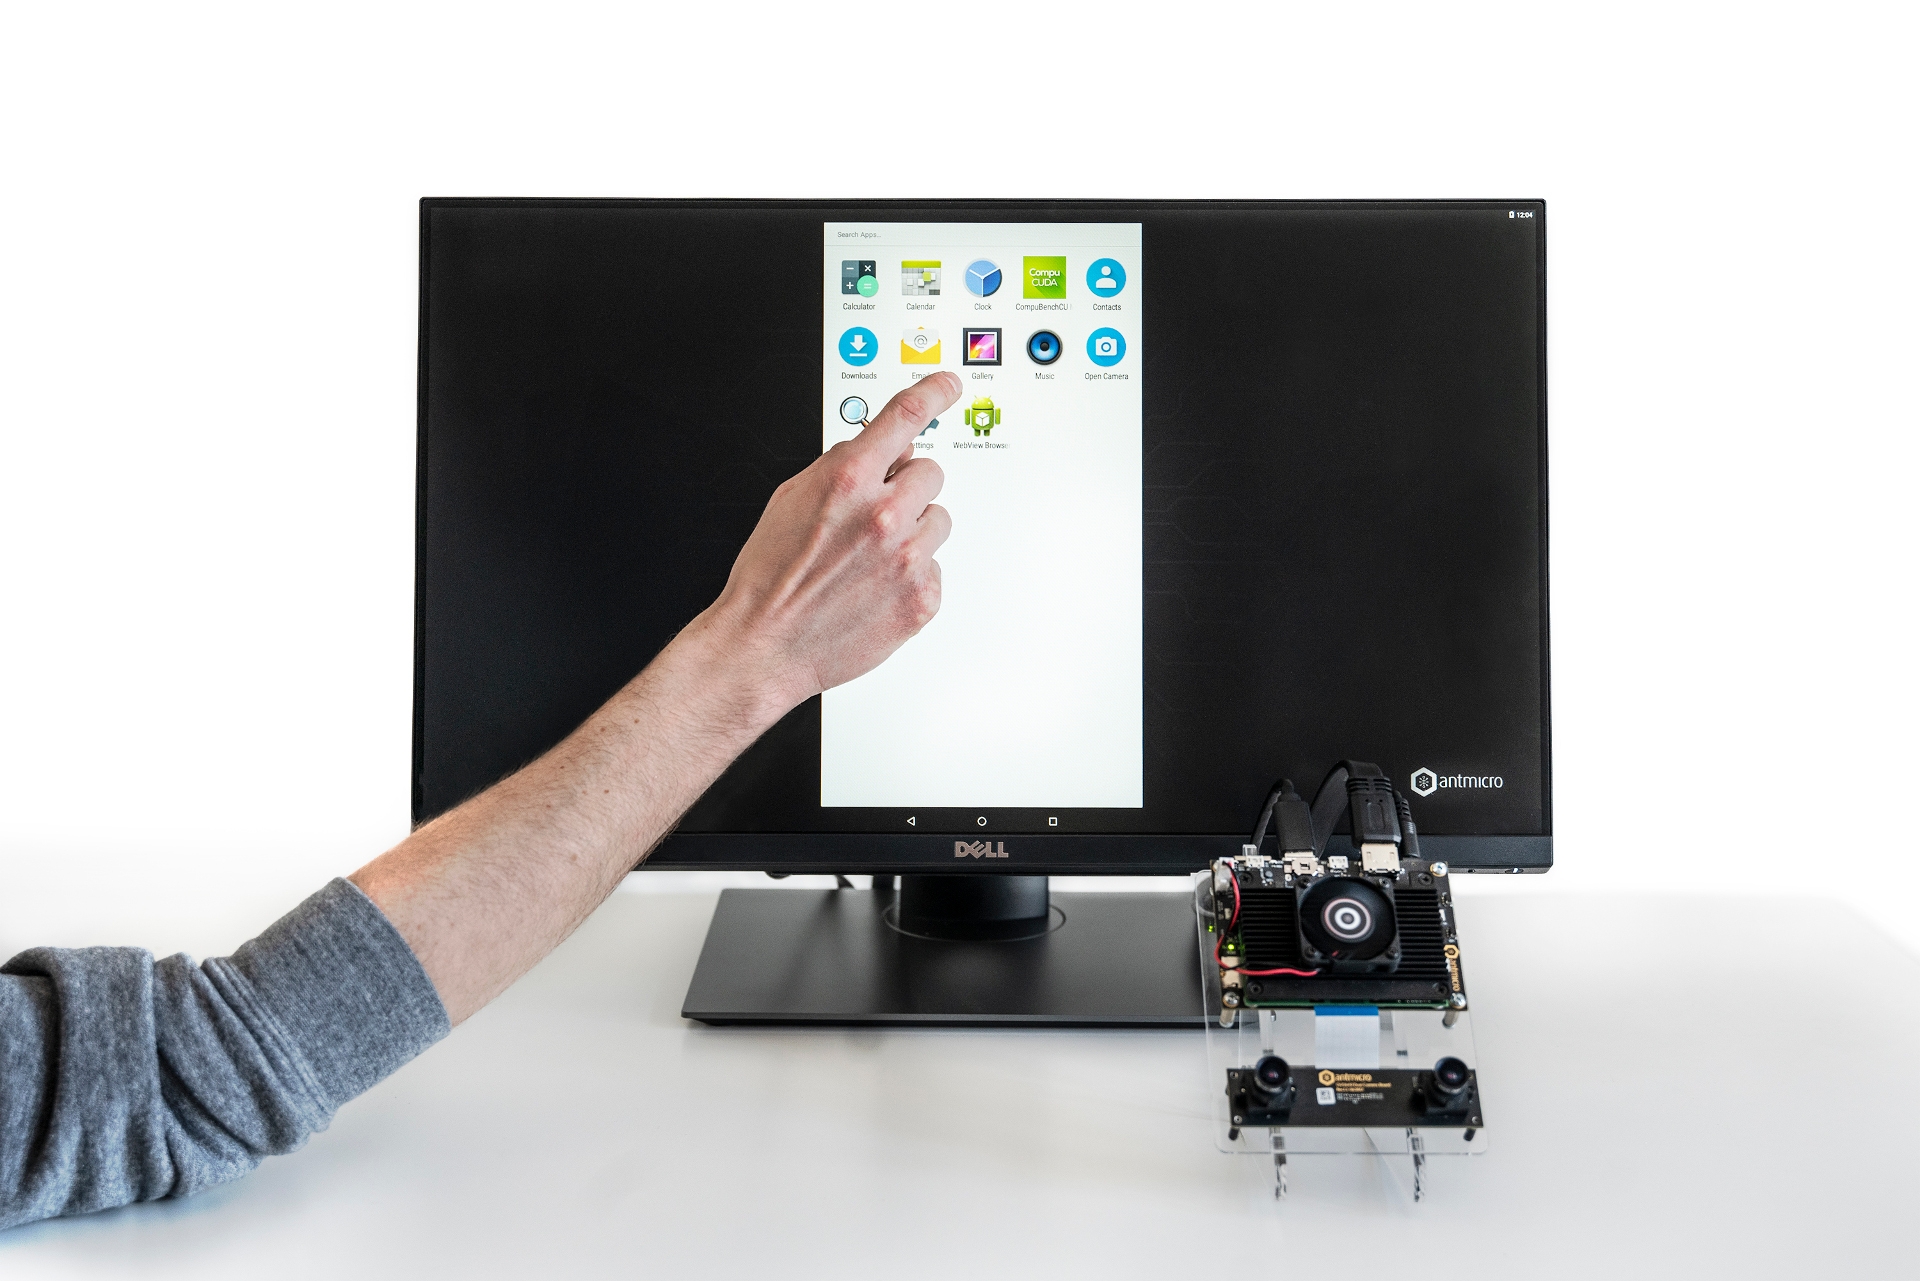
- Android 7.1 (Nougat) for Antmicro's Apalis TK1 Smart Vision Kit
Android 7.1 for Antmicro's Apalis TK1 Smart Vision Kit
Download the BSP sources
For convenience, create an empty directory where the code will be downloaded and built. The $AOSP_TOP variable is used in this document to refer to that directory.
AOSP sources
mkdir -p $AOSP_TOP/aosp
cd $AOSP_TOP/aosp
repo init -b master -u https://github.com/antmicro/antmicro-aosp-manifest.git
repo sync
The system uses a libraries and drivers package provided by NVIDIA, and you have to accept their license in order to use them. To unpack the package use the following commands and follow the instructions:
cd $AOSP_TOP/aosp/vendor/nvidia/licensed-binaries
export TOP=$AOSP_TOP/aosp
./extract-nv-bins.sh
Linux kernel
cd $AOSP_TOP
git clone https://github.com/antmicro/antmicro-aosp-linux.git kernel
U-Boot bootloader
cd $AOSP_TOP
git clone https://github.com/antmicro/antmicro-aosp-u-boot.git uboot
Build the BSP
AOSP
Set up the environment for an AOSP build. Warning: the AOSP build system only supports the bash shell.
cd $AOSP_TOP/aosp

export ANDROID_JAVA_HOME=/usr/lib/jvm/java-8-openjdk-amd64
export JAVA_HOME=$ANDROID_JAVA_HOME
export PATH="$JAVA_HOME/bin:$PATH"

export TOP=$PWD

source ./build/envsetup.sh
lunch apalis_tk1-userdebug
Start the build. This may take a while:
m -j$(nproc)
Convert the system partition image to raw format:
simg2img out/target/product/apalis_tk1/system.img \
         out/target/product/apalis_tk1/system.img.raw
Kernel
cd $AOSP_TOP/kernel

export CROSS_COMPILE=arm-linux-gnueabihf-
export ARCH=arm

make tegra12_apalis_tk1_android_defconfig
make -j$(nproc) uImage $kernel_dtb tegra124-jetson_tk1-pm375-000-c00-00.dtb
U-Boot
cd $AOSP_TOP/uboot

export ARCH=arm
export CROSS_COMPILE=arm-linux-gnueabihf-

make tegra12_apalis_tk1_android_defconfig
make -j$(nproc)
Convert U-Boot binary to Tegra Boot Image format
The bootloader flashed on eMMC must have a special format. The generation process requires files from this repository's build-files directory. Copy them to the $AOSP_TOP/uboot/ directory. Next, run the following commands:
cbootimage -s tegra124 cbootimage.cfg bootloader.img
Generate installer image
U-Boot has an embedded script which creates the necessary partitions, and flashes the boot image generated above, which has to be appended to the U-Boot image. To do it, run:
cp u-boot-dtb-tegra.bin installer.img
dd if=bootloader.img of=installer.img bs=1M seek=1
Install the BSP
Connect your computer with the device's debug USB port. Now you have to turn it on in recovery mode. There are two ways to do it:
- If you have any U-Boot already flashed on the module, connect your computer to the board using the UART USB port and any serial terminal program (e.g.
picocom). Power on the device, press any key in serial terminal, and run theenterrcmcommand. - Short the appropriate pads on the module. Details are described in the Apalis TK1 datasheet (7. Recovery Mode).
Run the installer on the device:
cd $AOSP_TOP
sudo tegrarcm --bct="uboot/PM375_Hynix_2GB_H5TC4G63AFR_RDA_924MHz.bct" \
              --bootloader="uboot/installer.img" --loadaddr=0x80108000
The mass storage device should be detected in the system. Partitions created by the flashed installer have specific PARTUUID values, which can be used when refering to them. For simplicity, assign them to variables:
BOOT_UUID='cfb04dea-7725-904f-bc63-0b7de8f57482'
RECOVERY_UUID='c26f6e09-9353-d940-9f36-21e69ca8ecc9'
SYSTEM_UUID='f4197da6-b758-f749-86ed-6e5c7635caa1'
USERDATA_UUID='cd56aa0b-61ef-d049-92d6-a89e46485a3a'
Create filesystems:
sudo mke2fs -t ext2 -O '^metadata_csum' -F /dev/disk/by-partuuid/$BOOT_UUID
sudo mke2fs -t ext2 -O '^metadata_csum' -F /dev/disk/by-partuuid/$RECOVERY_UUID
sudo mke2fs -t ext4 -O '^metadata_csum' -F /dev/disk/by-partuuid/$USERDATA_UUID
Flash the system image:
sudo dd if=$AOSP_TOP/aosp/out/target/product/apalis_tk1/system.img.raw \
        of=/dev/disk/by-partuuid/$SYSTEM_UUID \
        bs=512
Mount the boot partition:
sudo mkdir /mnt/aosp-boot
sudo mount -t ext2 /dev/disk/by-partuuid/$BOOT_UUID /mnt/aosp-boot
Copy the kernel and devicetree to the boot partition:
sudo cp kernel/arch/arm/boot/uImage /mnt/aosp-boot/uImage
sudo cp kernel/arch/arm/boot/dts/tegra124-jetson_tk1-pm375-000-c00-00.dtb \
        /mnt/aosp-boot/devicetree.dtb
Generate a U-Boot-compatible ramdisk image and put it on the boot partition:
sudo mkimage -n 'Ramdisk Image' -A arm -O linux -T ramdisk -C gzip \
             -d aosp/out/target/product/apalis_tk1/ramdisk.img \
             /mnt/aosp-boot/ramdisk.img
Unmount the partition:
sudo umount /mnt/aosp-boot
sudo rmdir /mnt/aosp-boot
Done. You can reset the device now - on powerup, you will see the following:
Android is an open platform developed by Google LLC and the Open Handset Alliance. Android is a trademark of Google LLC. All other trademarks are the property of their respective owners.
Relevant projects
Nothing found
Apologies, but no results were found.