HDMI on Snickerdoodle
This is an example design for the open hardware Snickerdoodle HDMI breakout board. The design utilizes the following IP cores:

Languages
HDMI on Snickerdoodle
Copyright (c) 2020-2021 Antmicro
This is an example design for the open hardware Snickerdoodle HDMI breakout board. The design utilizes the following IP cores:
This setup is designed to work with a Linux system with a /dev/fb0 framebuffer device that outputs its contents via the HDMI connector of the breakout board.
Building the FPGA design
-
Setup the Vivado environment:
source /path/to/Vivado/2018.3/settings64.sh -
Use FuseSoC to build the bitstream:
fusesoc --cores-root cores --cores-root src run snickerdoodle_hdmiFuseSoC will try to program the FPGA. Note that if the device is not connected properly, the command will fail.
The bitstream will be stored here:
build/snickerdoodle_hdmi_0/default-vivado/snickerdoodle_hdmi_0.bit -
Generate the FSBL from Vivado design
Building the software
-
Clone and build the U-Boot bootloader:
git clone https://github.com/krtkl/snickerdoodle-u-boot.git
pushd snickerdoodle-u-boot
make snickerdoodle_black_defconfig
make CROSS_COMPILE=arm-linux-gnueabihf-
ln -s u-boot u-boot.elf
popd
The resulting
u-boot.elffile will be located in thesnickerdoodle-u-bootdirectory. -
Clone and build the Linux kernel:
git clone https://github.com/antmicro/linux-xlnx.git -b axi_dispctrl
pushd linux-xlnx
make ARCH=arm CROSS_COMPILE=arm-linux-gnueabihf- LOADADDR=0x8000 snickerdoodle_defconfig
make ARCH=arm CROSS_COMPILE=arm-linux-gnueabihf- LOADADDR=0x8000 -j$(nproc)
make ARCH=arm CROSS_COMPILE=arm-linux-gnueabihf- LOADADDR=0x8000 uImage
popd
The resulting
uImagefile will be located in thelinux-xlnx/arch/arm/boot/directory. -
Clone devicetree repository and build the dtb file:
git clone https://github.com/antmicro/snickerdoodle-dts.git -b hdmi-support
pushd snickerdoodle-dts
make
popd
The resulting
snickerdoodle-black.dtbfile will be located in thesnickerdoodle-dtsdirectory. -
Create a
boot.biffile with the following contents:the_ROM_image: { [bootloader]/path/to/fsbl.elf /path/to/snickerdoodle_hdmi_0.bit /path/to/u-boot.elf } -
Generate a
boot.binfile (You can use the mkbootimage tool or Xilinx SDK):To generate the
boot.binfile withmkbootimagerun:mkbootimage boot.bif boot.bin
Once all the binaries are ready, prepare an SD card following the official guide and replace the Linux kernel, devicetree and boot.bin files with the ones generated in the steps above.
Insert the SD card to the snickerdoodle board and boot the system.
Running Linux Desktop Environment
-
Power up the board and connect to the serial console
-
Attach an HDMI display to the board (by default it should show a black screen at 1080P60 resolution)
-
Log in an check if the wireless connection is up with
ip a -
Install required packages on the device:
sudo apt update sudo apt install xfce4 x11vnc -
Create the
/usr/share/X11/xorg.conf.d/10-fbdev.conffile with the following contents:Section "Device" Identifier "axi_dispctrl FB" Driver "fbdev" Option "fbdev" "/dev/fb0" EndSection -
Start XFCE:
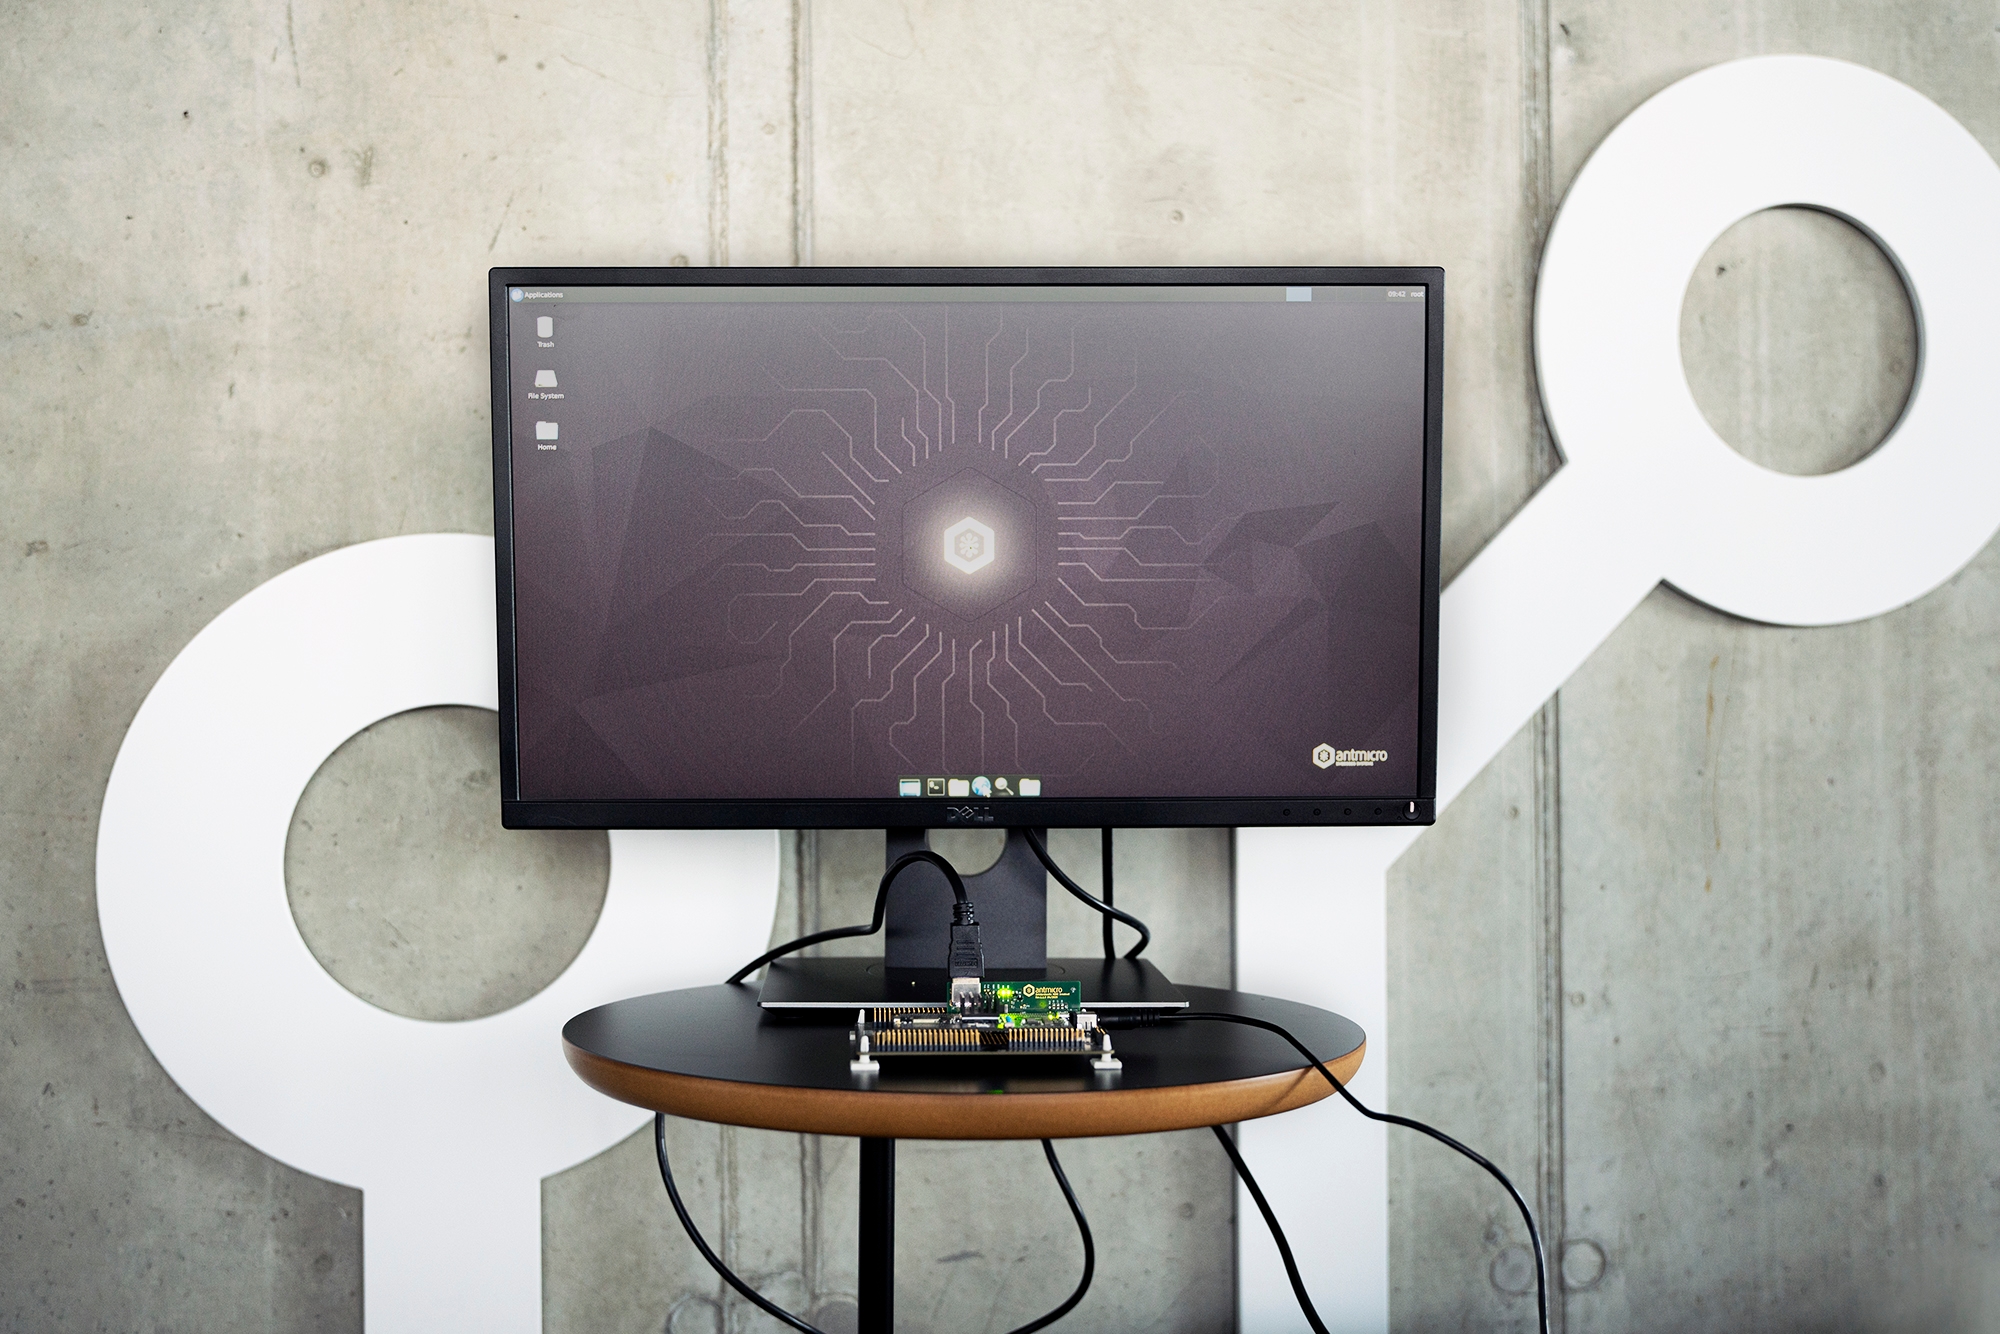
sudo rm /dev/dri/card0
sudo startxfce4
You should now see an XFCE session on the HDMI output.
-
Snickerdoodle and breakyBreaky have no USB Host ports which could be used to connect keyboard and mouse. A VNC server can be used to forward HID devices from a PC to the device. To do it connect to the board using SSH and start a VNC server with:
x11vnc -display :0Once the server is running you can connect to it using any VNC client.
Relevant projects
Nothing found
Apologies, but no results were found.