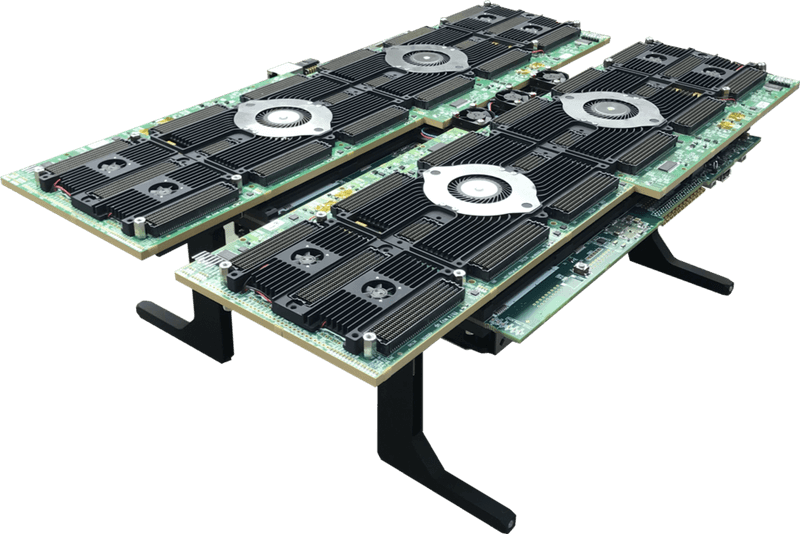
Virtex Ultrascale PCIe example
This repository is an example guide on how to build designs for the proFPGA VU19P and XCU1525 boards that use the PCIe interface.
Languages
Virtex Ultrascale PCIe example
Copyright (c) 2021 Antmicro
Overview
This repository is an example guide on how to build designs for the proFPGA VU19P and XCU1525 boards that use the PCIe interface.
It demonstrates an example configuration where the FPGA performs memory-to-memory transfers between two buffers in host PC memory.
Prerequisites
- Building designs for the VU19P board requires Xilinx Vivado 2020.2 or newer.
- A Vivado license is needed,
xcvu19pandxcvu9pchips found on the supported boards are not supported by the free license.
Building the design
-
Clone this repository
-
Run
git submodule update --init --recursiveto download all the required submodules -
Adjust
IP_ADDR,LOGINto point to user on a test machine which has the VU19P connected -
Set the target board with the
BOARDvariable:export BOARD=xcu1525 # or export BOARD=profpga_xcvu19p -
Set
VIRTUALENV_DIRto specify the location for the Python virtual environment that will be created -
Run
make venv/createto create the Python venv -
Run
source $VIRTUALENV_DIR/bin/activateto activate the newly created venv -
Run
make venv/installto add the required dependencies to the venv -
Run
source <Vivado path>/settings64.shto add Vivado to $PATH -
Run
make gateware/buildto build the gateware -
Run
make software/buildto copy the kernel module and userspace app sources to the target machine and build them
Running the design
Loading the bitstream onto the proFPGA device
- Create a new project in proFPGA builder
- Make sure that both
FM-XCVU19P-R1andEB-PDS-PCIe-Cable-R3are detected (design assumes that PCIe board is attached toTA1) - Configure clocks to provide a 300MHz reference clock on
clk_1 - Load the
build/profpga_xcvu19p/gateware/profpga_xcvu19p.bitbitstream onto the target device using the proFPGA tools
Loading bitstream onto xcu1525 board
- Connect a micro USB cable to the board
- Load the
build/xcu1525/gateware/xcu1525.bitbitstream onto the target device using Vivado or openOCD
Running host software
- Run
echo 1 | sudo tee /sys/bus/pci/rescanon the host PC to rescan PCIe devices - Using
lspcicheck if a new LitePCIe device appeared, if it was not detected then: a. Checkdmesgoutput to see if any PCIe errors appeared b. If errors similar tono space for [mem size 0x00a00000]are visible then you can try to remove the root port used by that slot using:echo 1 | sudo tee /sys/bus/pci/devices/<root-port-path>/removeand then doing a rescan - Once the device is visible you can load the driver by running
sudo modprobe litepcie.koon the host PC - Finally you can run the test application
./litepcie_util dma_test, it should be located in/home/$LOGIN/build/$BOARD/driver/useron the host PC
Relevant projects
Nothing found
Apologies, but no results were found.
